Learn how to make your own natural soaps that you can let your family enjoy as a healthy alternative to store bought syndet bars (explained in more detail during this class), or to give as gifts.
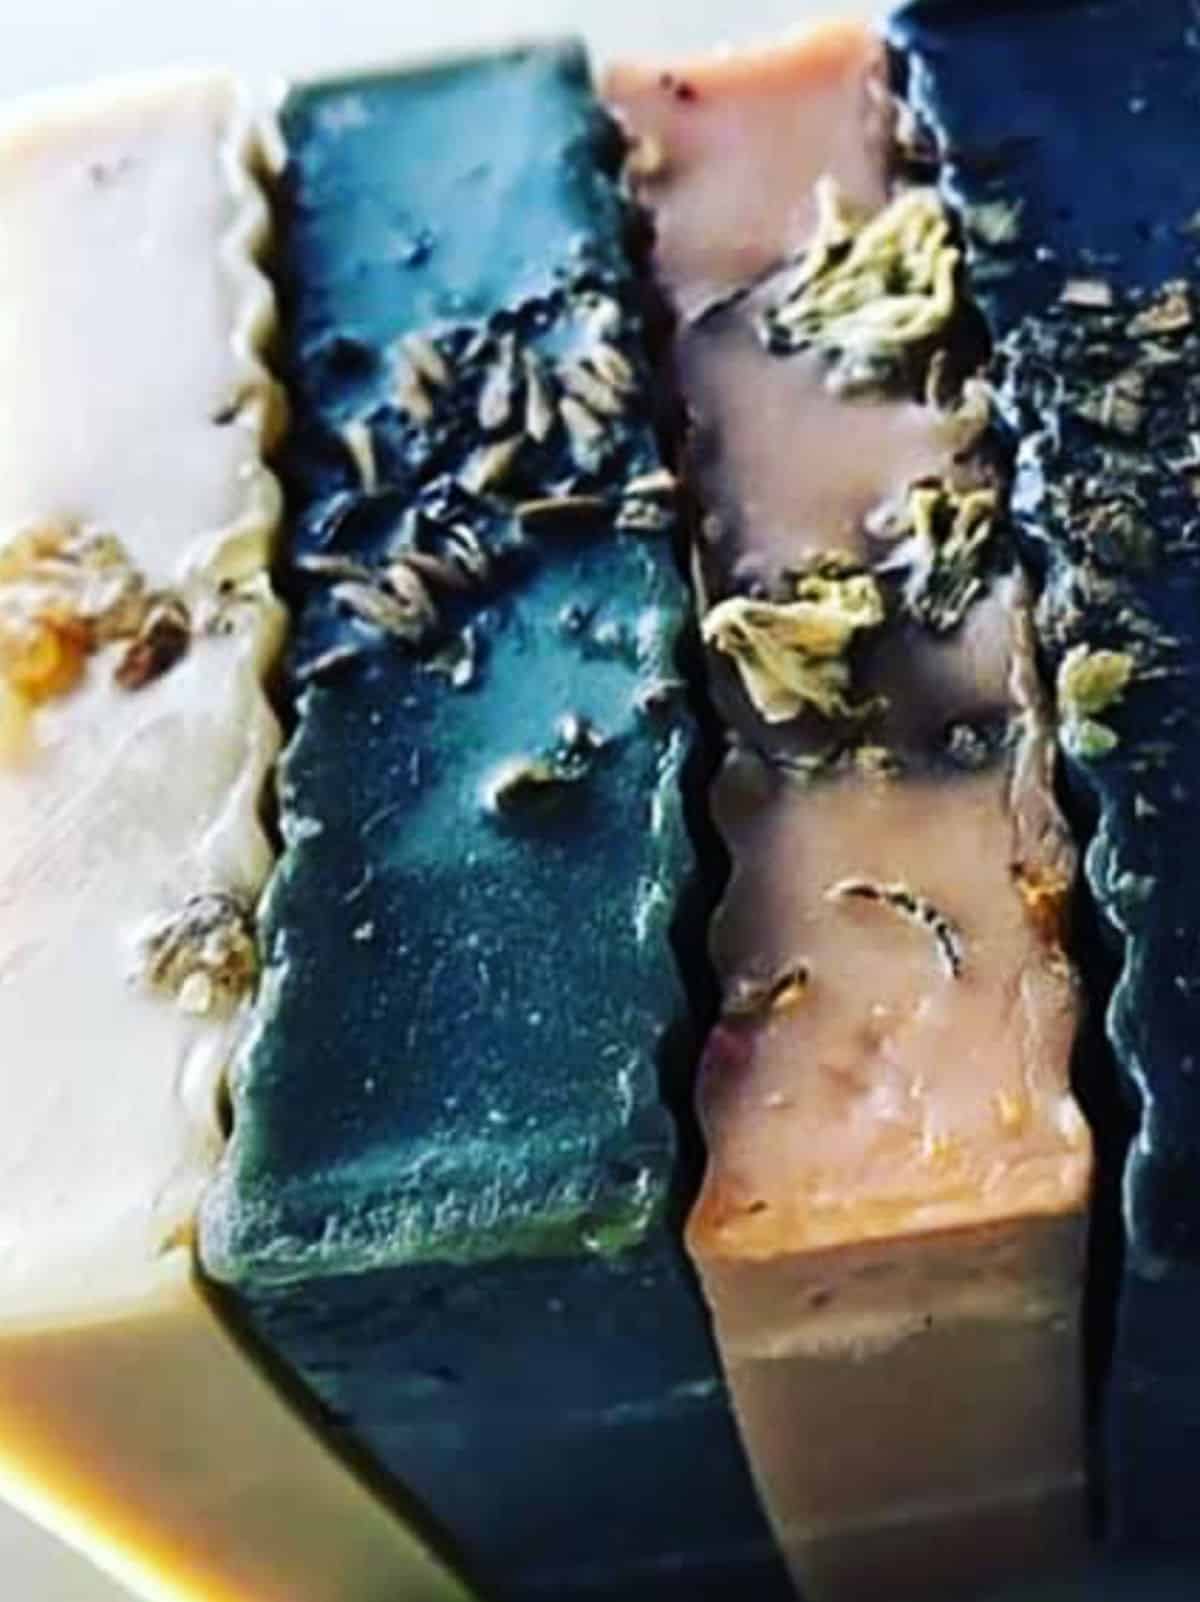
This beginner class shows you how to make your own natural soap. We walk you through basic lab safety for manufacturing cold process soap as well as the process of creating a soap formula (recipe), accurately measuring ingredients, preparing the caustic lye solution, and mixing ingredients to create natural soap.
Since we will be working together to make a large batch of soap batch in this class, we will pour it into individual 1 lb containers that you will take home to cure. This is a beginner class that is a combination of observation, community science lab, and individual soap pot stirring. Each student will help measure soap oils, colorants, scent, stirring the soap pot, and pouring soap into their mold. You will also leave with materials on safety, basic written cold process instructions, formulas for calculating lye and mold size, and starter soap formulas for basic natural soap that you can make from ingredient found in your local grocery store.
This is the perfect class for those of you that are anxious about working with sodium hydroxide (lye).
Objectives of this 2 hour class are to teach you:
• hazards and safety issues when working with sodium hydroxide
• proper equipment and supplies needed for cold process soapmaking
• selecting colorant for cold process soap
• selecting fragrance or essential oils for cold process soap
• taking accurate measurements
• how to manually calculate lye and also use lye calculators
• basic mold requirments, and how to calculate volume
• the effect of mixing temperature on cold process soapmaking
• cutting, curing and storing your cold process soap
• appropriate packaging for cold process soap
• the basic chemistry of cold process soapmaking
• Overview of Basic Chemistry of Cold Process Soapmaking
Overview of Basic Chemistry of Cold Process Soapmaking:
Safety
Put on your safety gear. Always wear protective eye wear, apron and gloves when handling lye.
1. Understand the dangers of lye.. Lye is an extremely caustic chemical that will burn your skin upon contact. It is always used for the cold process soap method and for hot process soap methods. Use gloves, avoid contact with lye and your skin.
2. Understand all your soapmaking ingredients. We will discuss as we go through this CP 101 class. Some other substances for soap making, such as essential oils, have safety issues as well.
3. Be sure to wear protective clothing... In order to avoid any contact with lye, or any other harmful substance, wear rubber gloves, goggles, garments that cover your body.
4. Label all equipment "for soap making use only".
5. Always have a bottle of water by your side. If you spill any lye, pour water over the mess to dilute the active soap mixture spill or the lye solution spill.
6. Eliminate all distractions... this includes children, pets and even spouses.
7. Store all hazardous substances in a safe place. Make sure that it is far from the reach of any children.
Equipment you will need:
1. glass mixing bowl, or a small tainless steel stockpot.
2. Spatula
3. Pitcher
4. Scale
5. Small glass container to measure lye into
6. Mold
7. Recipe/ Soap formula
8. colorants
9. fragrance or essential oil
10. additives
11. lye (sodium hydroxide)
Prepare your Lye Solution:
1. Carefully weigh the required amount of lye for your soap formula. You can use several soap calculators or manually. I have included a worksheet for manually calculating your lye.
2. Weigh the correct amount of water for the amount of lye your soap formula/recipe require. Your water is only a solvent, it can vary depending on how fast you want your soap to cure up. Typically, a 1:2 ratio can be used. If your soap formula calls for 6 oz of lye, then you can calculate using 12 oz of water. You may want more water when using particular fragrance or essential oils however, as it will slow down the trace time (we will get to that later).
3. Put your water in the pitcher. Carefully add the lye. Do not ever add the water to the lye, as it can result in dangerous splashes and burns. The lye will react with the water and get very hot, about 200 – 250 degrees. Cover the container and let cool. You can use lukewarm to icy cold lye
solution, it just depends on you and what type of soap you are making. We will cover this in more detail. Room temperature is typical though.
4. FAST TIP: Water weighs the same whether it is liquid or frozen. To speed up the waiting time for your lye solution to cool, you can use 50% of the water weight in the form of ice cubes. Don’t use more than this or your lye will not properly dissolve though.
Line your Mold:
Use either the polyethelene lined freezer paper, or the new stick plastic wrap. Both work really well. We will show you how to line the mold in class, but basically two strips of paper folded to cross each other in the mold and to give overlap on the corners. Think wrapping a box in the inside instead of the outside.
Weigh your oils:
1. Decide on the oils you want to use, based on their availability, your end use, properties, ect.
2. In this class we are making SuperMarket Soap, or oils that are readily available at your local Farm Fresh or Walmart. Olive, Luanna Coconut Oil, and Vegetable shortening. Vegetable shortening is hydrogenated soybean oil, so when we do the calculations that is what we will use to determine lye values. This CP 101 class aims to teach you the basics so you can do this on your own with oils you can obtain easily without mailing away to a soap ingredients supplier.
3. Melt your oils and blend well. Set aside to cool. You want them about 90 to 100 degrees.
Colorants: Today we will be adding one color to the soap pot. We have oxides, ultramarines, and clays. Each need to be mixed with a small amount of hot water and made into a thin slurry before adding to your blended soap mixture.
Fragrance: Today we will be choosing one scent from a selection of essential oils and fragrance oils. Essential oils are all natural, plant derived. Fragrance oils are synthetic representations of scents ranging from almonds to Zanzibar cloves. Your choice in fragrance, essential oil, or even unscented is highly personal. There is not wrong choice, just strictly what suits you.
Measuring: Everything in soapmaking is weighed using oz and to the hundreds (.00) whenever possible. Any kitchen food scale will work. Check the battery periodically if your is not a corded scale to make sure it stays accurate.
Lye Calculators: I am including an email link to the popular SoapCal lye calculator. I am also emailing an attachment for my personal favorite Lye Calculator called SoapSheet3.1 by Chris Mathes. This second calculator is Excel based, so you will need the spreadsheet software from MS Office or Open Office to use it.
Mold & Mold Volume: In this class we are making a community batch of soap that will then be ladled into several 16 oz molds. We will also teach you how to decide on a mold and then to evaluate or calculate how much soap mixture you need to fill that mold. This helps you control waste.
Soap formulas/recipes: You have several soap recipes/formulas in your folder. From the Basic Supermarket soap we are making today as well as more exotic soap formula/recipes. One you make today’s soap, you are ready to tackle any of the other recipes we have provided.
Curing, Cutting, & Storing CP Soap: You will turn your soap out of your mold after 24 to 36 hours, depending on how much water you used as well as the amount of soft oils your recipe called for. You want your soap to be firm enough to handle easily, not soft like PlayDoh.
Packaging: Here you can be very creative. Coffee filters and round labels, cigar bands and labels, shrink wrap and labels. Some people use calico cloth. Some use handmade mulberry paper. The packaging of your product is as personal as the scent and oils selection. Packaging is the beginning of your branding and marketing. Be creative, be unique!
Instructions for basic CP soap:
1. Have your lined soap mold nearby but out of the way
2. Put on your safety gear. Always wear protective eye wear, apron and gloves when handling lye.
3. Set your cooled pitcher of lye solution nearby and ready to use.
4. Plug your stick blender in.
5. Stir your cooled oils.
6. Mix the lye and oils together by slowly pouring the cooled lye solution into the cooled oils and stirring to mix it all together. Use the stick blender to blend in short, low speed burst. A stick blender reduces the mixing time from about 50 minutes to only 5 minutes. You can find great stick blenders for about $20 on Amazon.
7. Add your colorant slurry and hand mix quickly
8. Add your fragrance or essential oil and quickly stir with the spoon
9. Add any additives such as calendula petals, poppy seeds, etc. and stir with spoon.
10. Finish mixing using your stick blender until you can pick up and the dribbles off the stick blender leave slow fading trails on the soap mixture surface. This is called TRACE. You never pour your soap mixture into molds until you have at least a medium thick trace. Light trace would be where the thread barely exist. Medium trace is when they are there and slowly fade back into the soap pot. Heavy trace is where they do not go away at all and become part of the artistic value of the soap when you pour it into the mold. For this class we will pour at medium trace.
11. Pour your soap into the mold and shake it gently so that that soap distributes evenly through the entire pan.
12. Cover and cure. Cover your mold, insulated with a towel for 24 hours. After 24 hours the bars will still be warm to the touch, but solid enough to remove from the mold.
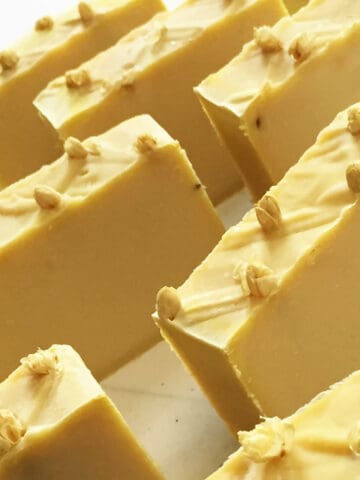
13. Place soap on storage shelf for 2-3 days to begin drying (curing). After 2-3 days, your soap loaves are ready to cut into bar-sized pieces.
14. Cut your soap log into slices or bars. Place the soap bars back on storage shelf to continue curing for three to six weeks (depending on type of soap), and turn the soaps once a week to expose all sides to the air.
15. After curing, your soap is ready to use.
Tips for Success:
Alternately mix soap mixture with manual spoon and electric blender to fully incorporate ingredients. Do not over mix.
Bring mixture to a light-medium trace before adding essential oil, color, or other additives.
If using fragrance oils, please note that some oils can “seize” soap, causing a premature setting up of the soap mixture. To avoid or minimize this problem when using a new and untested fragrance oil, try dropping your soap making temperature to 100 degrees F, and slowly add the fragrance oil to your oap mixture during the last half of the mixing process.

Leave a Reply